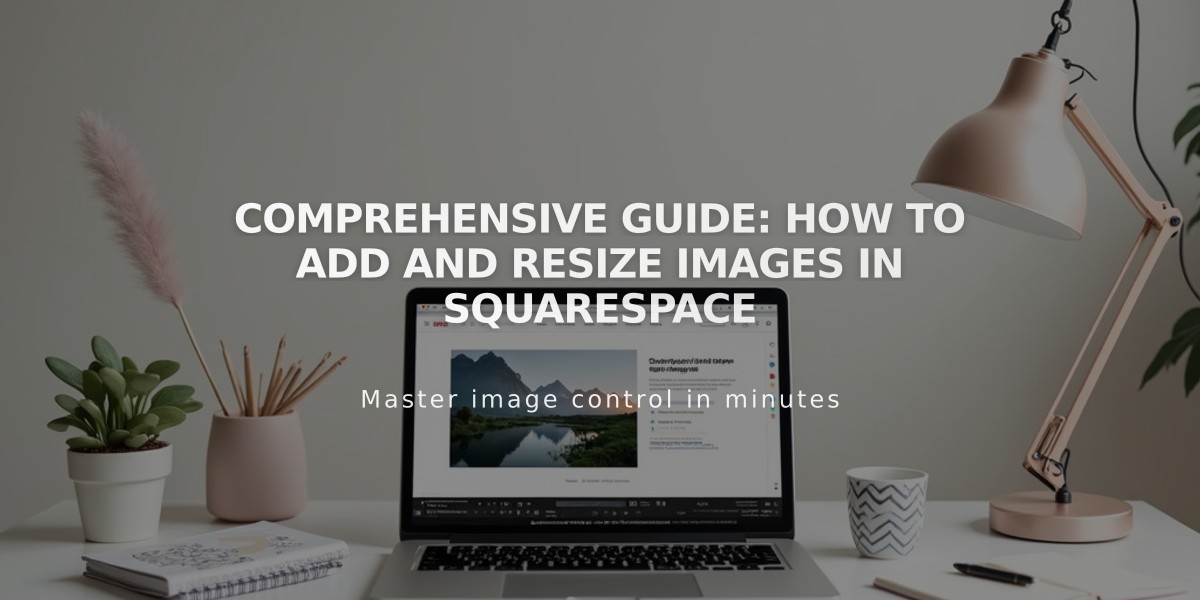
Comprehensive Guide: How to Add and Resize Images in Squarespace
Effortlessly add and resize images on your site to create an engaging visual experience. Here's everything you need to know about working with images.
Adding Images
You can add images in multiple ways:
- Individual image blocks
- Gallery sections for multiple images
- Smart designs combining images, text, and buttons
- Banner images for page backgrounds
- Portfolio highlights
- Brand assets (logos and favicons)
- Blog post galleries
- Featured images for collection items
- Product images
- Instagram feeds
Resizing Images
Block Images:
- Dynamic Editor: Click and drag to resize directly
- Classic Editor: Adjust width using adjacent blocks
- Use crop handles to modify height in image blocks
- Gallery blocks offer layout-specific resize options
Page Elements:
- Gallery sections: Customize through style settings
- Portfolio pages: Adjust image appearance in section settings
- Store pages: Modify aspect ratio and width in style settings
- Banner images: Change section height/width
- Site logo: Adjust position and size
Advanced Features:
- Add alt text for accessibility and SEO
- Apply animations and effects
- Edit images with built-in tools
- Enable lightbox viewing
- Create clickthrough URLs
- Add hover effects
- Apply custom image shapes
Using the Mobile App:
- Tap + or "Add image"
- Choose to:
- Take a new photo
- Upload from photo library
- Upload from files
- Reuse existing images
- Add titles, descriptions, and URLs as needed
Social Media Optimization:
- Use Squarespace's free image resizer
- Select preset sizes for various platforms
- Batch process multiple images
- Download in original file format
Remember that all images automatically adjust for different devices through responsive design. For optimal results, follow formatting guidelines and check your images across various screen sizes.
Related Articles
How to Choose and Customize Your Perfect Squarespace Template - A Complete Guide