
Email Campaign Content Section Guide: Adding and Customizing Elements
After adding sections to your email campaign, you can include various content types to create engaging emails. Here's how to use each section effectively:
Text Sections
- Add longer text blocks or create headers
- Format text using paragraph or header styles
- Adjust letter spacing using the |A| tool
- Customize colors and padding in the sidebar
Image Sections
- Upload up to 4 images per section
- Add alt text for accessibility
- Link images to URLs
- Adjust background colors
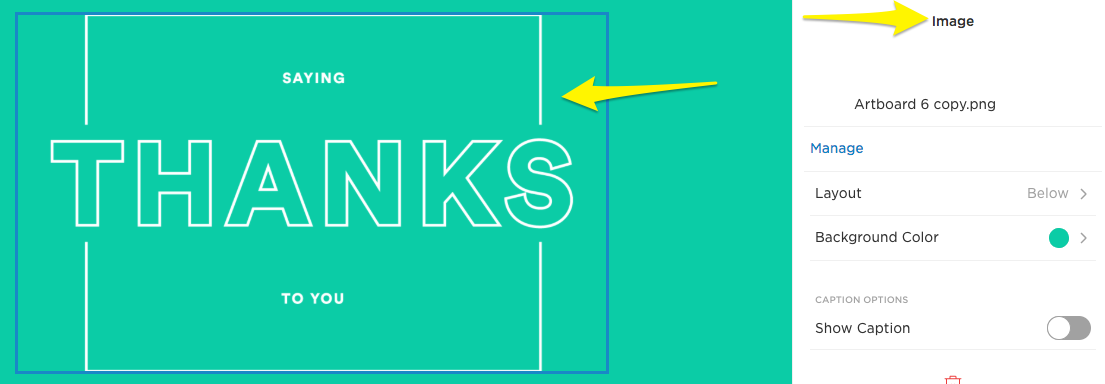
"Thank you" on a card
Button Sections
- Create clickable buttons linking to URLs
- Customize button text and style
- Follows global font settings
- Add one button per section
Spacer & Divider Sections
- Spacer: Adds white space with adjustable height
- Divider: Creates horizontal lines to separate content
- Customize colors, thickness, and style
Blog Sections
- Display up to 7 blog post teasers
- Include excerpts, images, and "Read more" links
- Choose from multiple layouts
- Customize display options (dates, authors, images)
Product Sections
- Showcase up to 7 products
- Display product details, prices, and "Add to cart" buttons
- Multiple layout options
- Customize display elements
Discount Sections
- Add existing discount codes or create new ones
- Set discount percentages and expiration dates
- Limit one discount section per campaign
- Track usage with unique discount names
Adding Links
- Link text, images, and buttons
- Connect to internal or external content
- Link to email addresses or phone numbers
- Track engagement with analytics parameters
Important Notes:
- Videos cannot be embedded directly; use GIFs or links instead
- Content isn't synchronized after adding to campaign
- Update manually if source content changes
- Some layouts use fixed image text that cannot be edited