How to Add and Edit Appointment Blocks in Squarespace
Appointment blocks let visitors book appointments directly from your website through Acuity Scheduling integration. Here's how to set it up and customize it effectively.
Adding an Appointment Block (Squarespace + Acuity)
- Edit your page
- Click Add Block or an insertion point
- Select Scheduling
- Click the pencil icon to open block editor
- Choose your scheduler type from the dropdown
- Click Apply (for version 7.0)
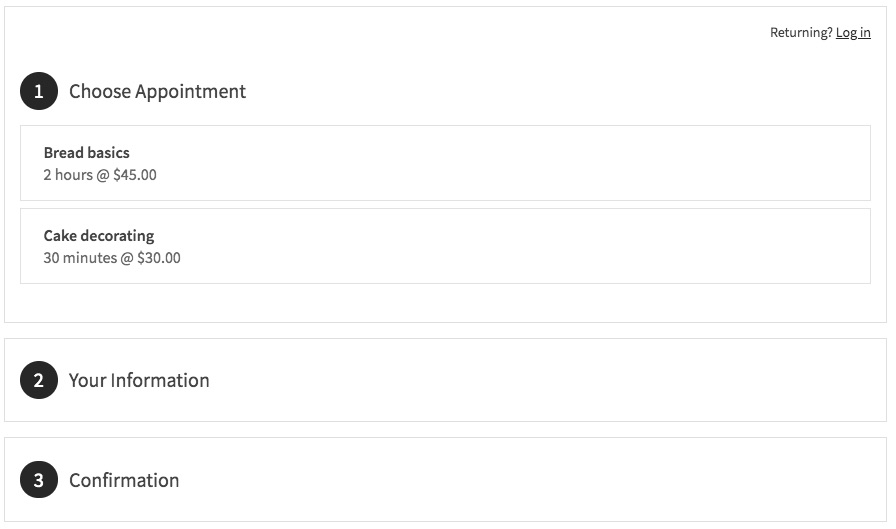
Squarespace Appointment Scheduler Page
Adding a Standalone Acuity Calendar
- Copy your Acuity scheduler URL from your account
- Add a Scheduling block to your page
- Select "Custom Link" from dropdown
- Paste your Acuity URL
- Click Apply
Customizing Your Scheduler
- Go to Customize Appearance in Acuity
- Click Appointment Page Options
- Adjust settings using checkboxes
- Preview changes in real-time
- Save your modifications
Important Features:
- Password protection available for restricted booking access
- Member-only booking through gated content
- No Squarespace transaction fees
- "Powered by Acuity" text can be removed
- Paid Acuity subscription required for standalone accounts
Tips for Success:
- Use clear appointment types
- Keep scheduling options simple
- Regularly check your calendar settings
- Test the booking process regularly
- Monitor your appointment notifications
The appointment block works seamlessly with both Squarespace-integrated Acuity accounts and standalone Acuity subscriptions, providing a professional booking experience for your clients.
Related Articles

Maximize Your Website Revenue: A Complete Guide to Squarespace Monetization