How to Build Your First Squarespace Website: A Step-by-Step Guide
Digital identity and web presence are essential for businesses and personal brands. Here's how to create your first Squarespace site effectively.
Create Your Site Structure
- Add pages to the navigation:
- Open Pages panel
- Click + next to Main Navigation
- Choose page type or Layout
- Enter title and set homepage if desired
- Replace or reorganize demo content
Customize the Site Header:
- Click Edit in site preview
- Hover over header and select Edit Site Header
- Add logo, social icons, and essential elements
Add Content to Pages
Use two main content types:
- Blocks: Drag-and-drop elements for text, images, and buttons
- Collections: Organized content like blog posts, products, and events
To add blocks:
- Open Pages panel
- Select page to edit
- Click Edit
- Add section with +
- Select and place blocks
- Save changes
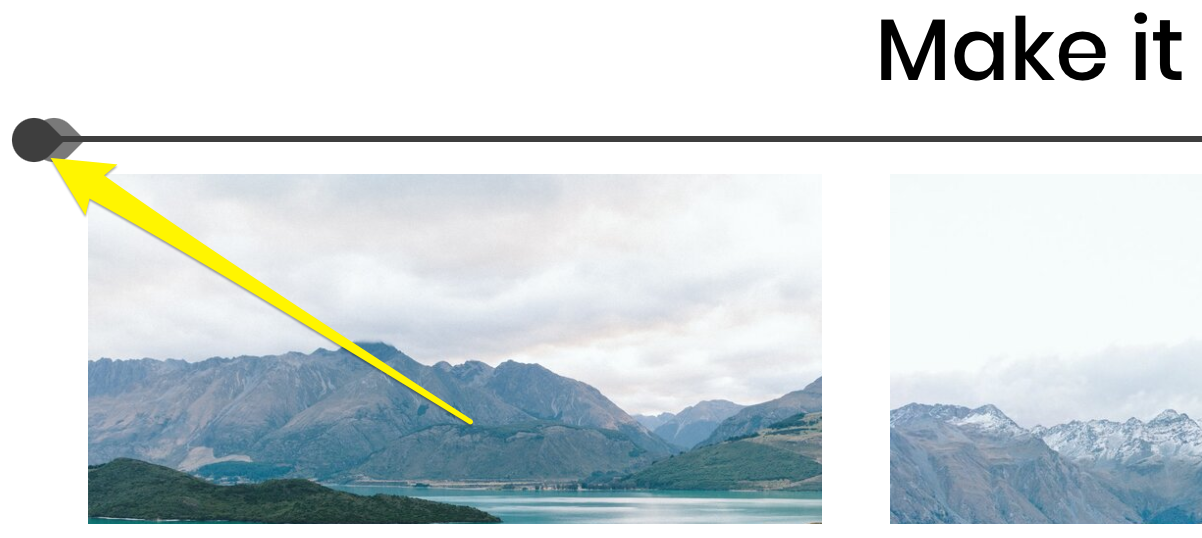
Arrow pointing to scrollbar cursor
Add Blog Content (Optional)
To create blog posts:
- Add Blog Page
- Click + in sidebar
- Add title and content
- Publish when ready
Engagement features:
- Categories and tags
- Comments
- Email subscriptions
- Podcast capabilities
Set Up Online Store (Optional)
Essential store setup steps:
- Add products
- Connect payment processor
- Configure shipping
- Set tax rates
- Customize checkout
Style Your Site
Site-wide styling:
- Fonts
- Colors
- Animations
- Spacing
- Buttons
- Image settings
Section-specific styling:
- Open Pages panel
- Click Edit
- Select section
- Customize options
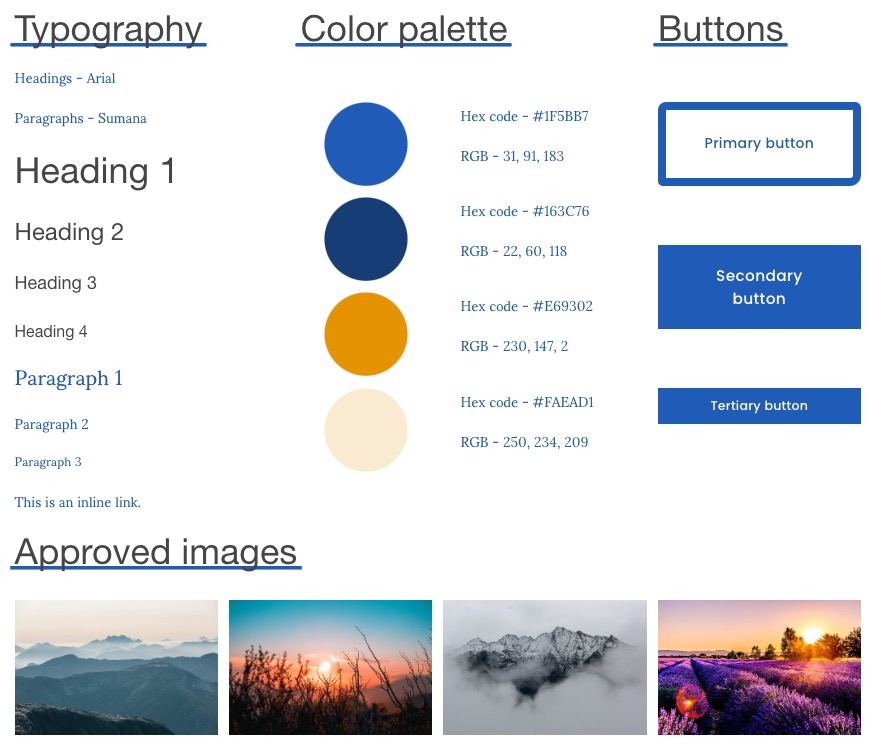
Blue and yellow color palette
Create a style guide for:
- Colors and palettes
- Typography
- Logo variations
- Layout specifications
- Image guidelines
- Content standards
Final Steps
- Review site launch checklist
- Test all functionality
- Upgrade to paid plan
- Publish your site
Remember to maintain consistency in design and regularly update content to keep your site engaging and relevant.
Related Articles

Choose the Perfect Template for Your Squarespace Website