How to Create and Send Screenshots for Technical Support
Taking a screenshot helps us better understand and assist with your technical issues. Here's how to capture and share your screen across different devices:
Windows
- Press Windows key + Print Screen (PrtSc)
- Screenshot saves automatically in Pictures > Screenshots folder
Mac OSX
- Press ⌘ + Shift + 4
- Use crosshair to select area
- Saves to desktop as "screenshot date time.jpg"
Chromebook
- Press Ctrl + Shift + Switch window (or Ctrl + Shift + F5)
- Select area with crosshair
- Saves to Downloads folder
iOS (iPhone/iPad)
- Press Side button + Volume Up simultaneously (older devices: Side + Home button)
- Screen flashes to confirm
- Find in Photos app under Saved Photos/Camera Roll
Android (4.0+)
- Press Power + Volume Down buttons simultaneously
- Screen flashes and makes shutter sound
- Or: Hold Power button and tap Screenshot option
- Find in notification or gallery
Sharing Your Screenshot:
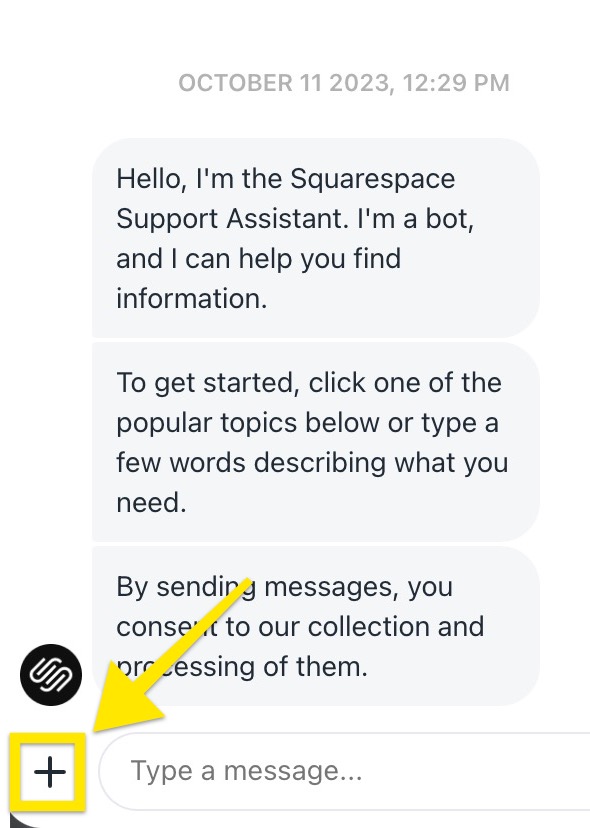
Live Chat:
- Click + icon in chat window
- Select Image upload (max 25MB)
- Supports .jpeg, .png, .gif, .pdf, .txt
Email:
- Attach screenshot to email reply
- Include case number (#XXXXXX) if applicable
- Can send both screenshots and screen recordings
Squarespace Logo on white background
Note: For screen recordings on iOS or Android 11+, refer to Apple's or Google's documentation respectively. Screen recordings can only be shared via email, not live chat.
Related Articles

How to Add Custom Name Servers to Your DNS Records