
Create Website Header: A Complete Guide to Navigation and Design
A website header appears at the top of every page and contains essential navigation elements like your logo, menu links, and optional features. Here's how to create and customize your header effectively:
Creating Basic Header Elements
- Access header editor:
- Click "Edit" at top left
- Hover over header and select "Edit Website Header"
- Add core elements:
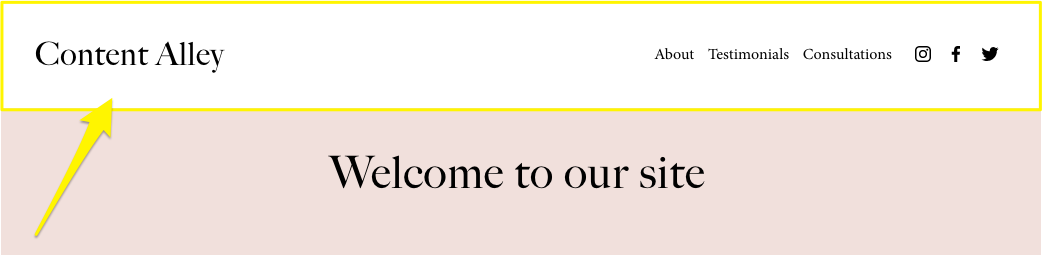
- Website title/logo: Click existing title/logo and edit
- Navigation links: Add/edit pages in pages menu
- Rearrange links: Drag and drop in navigation editor
Welcome message in blue-gray
- Additional elements:
- Button
- Social media icons
- Shopping cart
- Account login
- Language selector
Customizing Header Design
- Desktop layout:
- Choose layout style
- Set content width (Full/Indented)
- Adjust padding and spacing
- Add effects (shadow, border)
- Mobile layout:
- Select mobile-specific layout
- Customize menu appearance
- Choose menu icon style
- Set font sizes
- Background styles:
- Solid: Single color
- Gradient: Color transition
- Adaptive: Transparent overlay
Advanced Features
- Fixed position options:
- Simple: Always visible
- Scroll Back: Shows when scrolling up
- Style customization:
- Background opacity
- Blur effects
- Button design
- Social media icon size
- Cart appearance
- Page-specific settings:
- Hide header on specific pages
- Adjust transparency
- Modify background per page
For best results:
- Ensure mobile responsiveness
- Maintain consistent branding
- Keep navigation simple
- Test across different devices
- Consider user experience
The header should enhance navigation while maintaining your brand's visual identity. Regular testing ensures it functions well across all devices and screen sizes.
Related Articles
7 Reasons Why WordPress and SEO Services Are Essential for Your Online Success