
Email Campaign Setup Guide: Configuring Sender Details for Optimal Delivery
Create and verify sender details for your email marketing campaigns to ensure optimal deliverability and compliance with email provider requirements.
Key Requirements
- Use a custom email domain (e.g., [email protected]) instead of free email services
- Keep sender information accurate and compliant with laws like CAN-SPAM Act
- Verify both email address and domain for authentication
- You can create up to 10 sender details but use only one at a time
Setting Up Sender Details
- Create Sender Profile
- Open Email Campaign Settings
- Click "Sender Details" then "Add Sender"
- Enter sender name (visible to recipients)
- Add email address
- Click Next
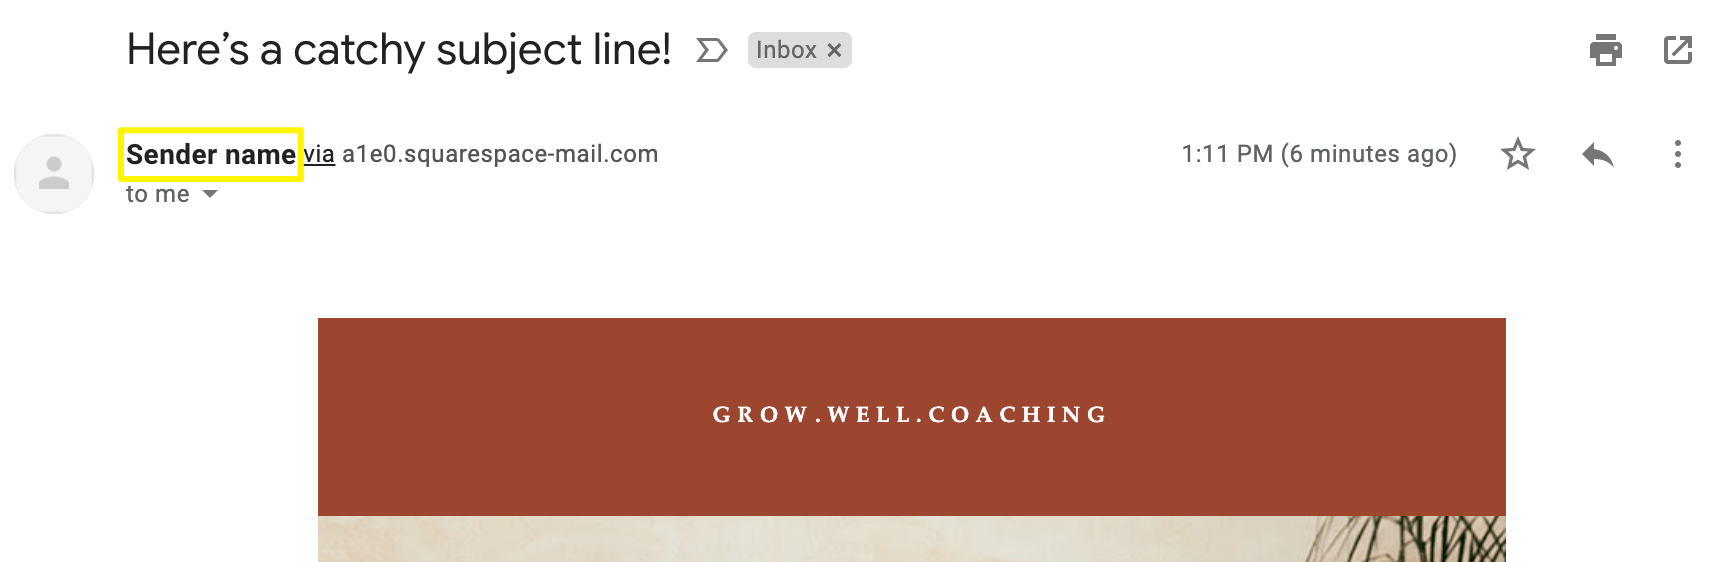
Squarespace inbox
- Verify Email Address
- Check inbox for verification code
- Enter code in setup window
- If missing, check spam folder for [email protected]
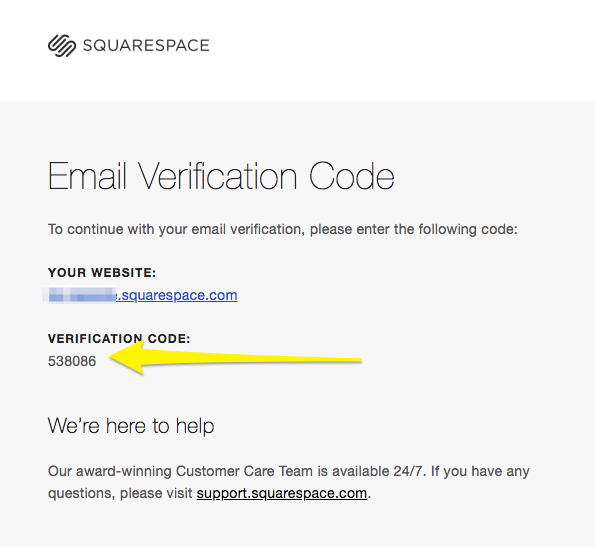
Squarespace email verification page
- Domain Verification
- Squarespace domains: Automatically verified
- Third-party domains: Require manual verification
- DMARC policy set to p=reject requires domain verification
Managing Sender Details
Edit Details:
- Navigate to Email Campaign Settings
- Click "..." next to sender details
- Edit name only (email changes require new verification)
Delete Details:
- Go to Email Campaign Settings
- Click "..." next to sender details
- Select Delete and confirm
Best Practices
- Use custom domain emails for better deliverability
- Register domains through Squarespace for automatic verification
- Set up Google Workspace for professional email addresses
- Avoid free email services (Gmail, Yahoo, AOL) as they may affect delivery
- Keep sender information consistent and professional
Note: The postal address shown in campaigns is set separately when sending each campaign.