
How to Add and Customize a Gallery Section in Squarespace
A gallery section lets you showcase multiple images in an organized and visually appealing layout. Here's how to create and customize one:
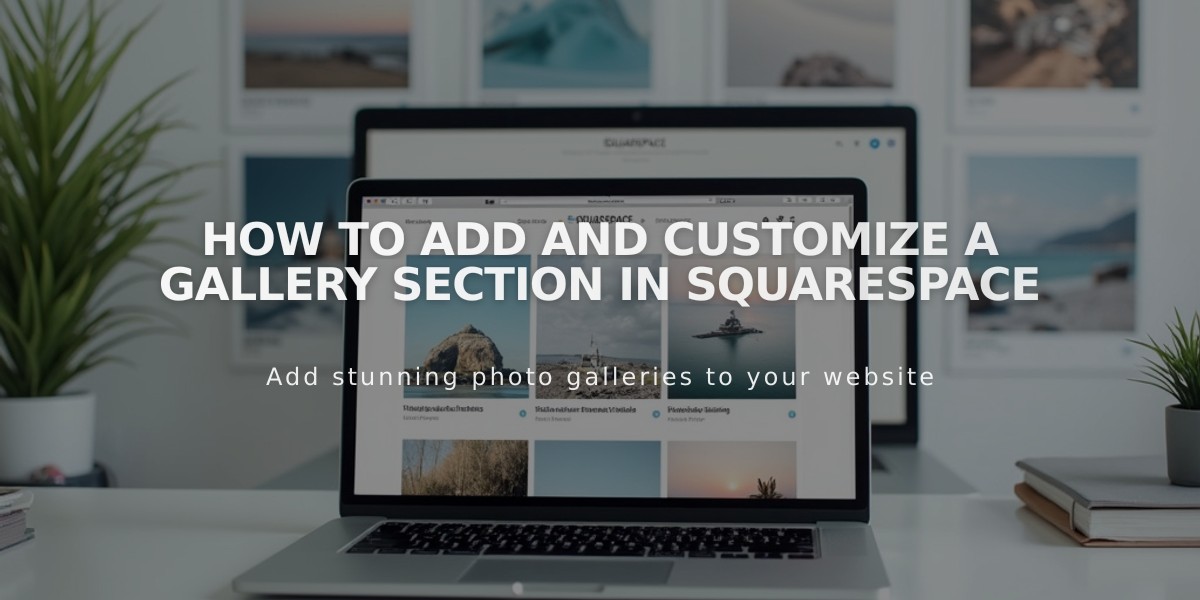
Adding a Gallery Section
- For a new page:
- Open Pages panel and click +
- Select Page Layouts > Gallery
- Add title and press Enter
- Click Edit
- Use image icon to add images
- Use pencil icon for style adjustments
- Save changes
- For an existing page:
- Click Edit
- Select Add Section
- Choose Images and pick a layout
Gallery Layout Types
- Grid: simple - Equal rows and columns
- Grid: strips - Different sized image strips per row
- Grid: bricks - Uneven layout based on image proportions
- Slideshow: simple - Single image with optional thumbnails
- Slideshow: full screen - Full-width single image display
- Slideshow: film strip - Multiple simultaneous images
Adding Images
- Hover over gallery and click image icon (+)
- Choose:
- Upload Images for new content
- Search Images for existing or stock photos
Image Management:
- Edit images with Image Editor
- Adjust focal points
- Reorder by dragging (except in Grid: bricks)
- Add captions and alt text
- Include clickthrough URLs
- Maximum 250 images per gallery
Styling Options
-
Access style menu:
- Click Edit
- Hover over gallery section
- Click pencil icon
-
Customize:
- Layout type
- Spacing
- Image height
- Captions
- Lightbox settings
- Color themes
- Section dividers
Width Settings
- No margins: Edge-to-edge display
- Full: Browser-width with site margin spacing
- Insertion: Fixed width based on page settings
Note: Layouts may adjust automatically on different devices and screen sizes for optimal viewing.