How to Change and Style Fonts in Squarespace: A Complete Guide
Get started by opening Site Styles and clicking the Fonts option. Here's how to customize your site's fonts:
Change Site-Wide Fonts (Version 7.1)
- Open Site Styles > Fonts
- Click "Switch" to view available font packs
- Choose between Sans-serif, Serif, or Mixed styles
- Set the Base Size (all other text scales relative to this)
- Click Save when finished
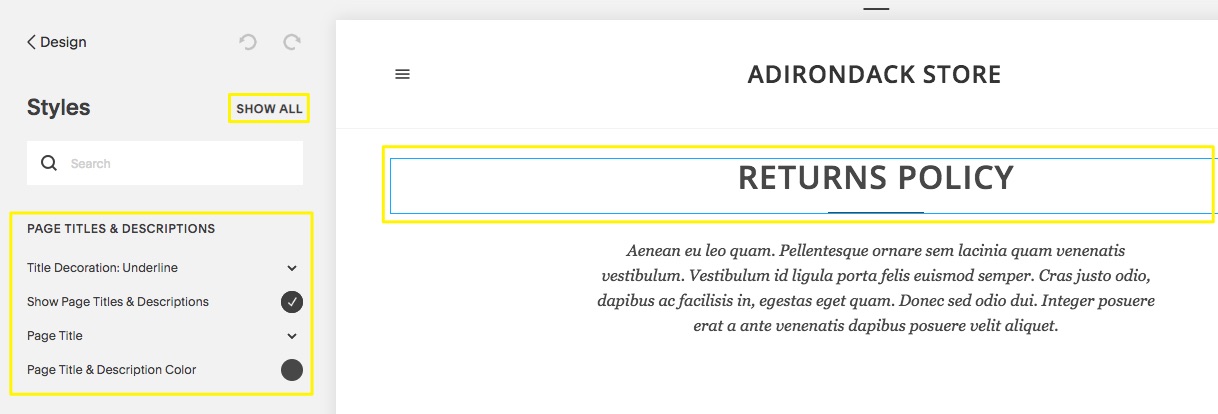
Customize Specific Text Elements
- Click "Assign Styles" in the Fonts panel
- Select the text group (Title, Button, etc.)
- Choose font style from dropdown menu
- Adjust additional options:
- Weight
- Line height
- Letter spacing
- Text transform
- Size
Squarespace website editor interface
Find Specific Fonts
- Open Site Styles > Fonts
- Click text type to modify
- Select "Family"
- Click "Browse All Fonts"
- Use search field or scroll through options
Add Custom Adobe Fonts (Version 7.0 only)
- Create web project in Adobe Fonts
- Copy Project ID
- Open Developer Tools > External API Keys
- Paste Project ID

HTML font embed code
Troubleshooting Tips
- Use Ctrl/Cmd + Shift + V to paste text without formatting
- Keep font weights above 100 for mobile readability
- Check domain settings if fonts look different when logged in
- Version 7.1 uses rem values; Version 7.0 may use em or px values
For system fonts only, select "Helvetica Neue" (Sans-serif), "Georgia" (Serif), or "Verdana" (Mixed) font packs.
Related Articles

Setting Up Print-on-Demand Extensions for Your Online Store