
How to Send Email Marketing Campaigns: A Step-by-Step Guide
Email campaigns are essential marketing tools to reach your subscribers effectively. Here's how to send them successfully:
Prerequisites:
- Create at least one mailing list
- Set up sender information
- Prepare an email draft
- Verify your email address
- Check domain (if using custom email)
- Add physical address to your website
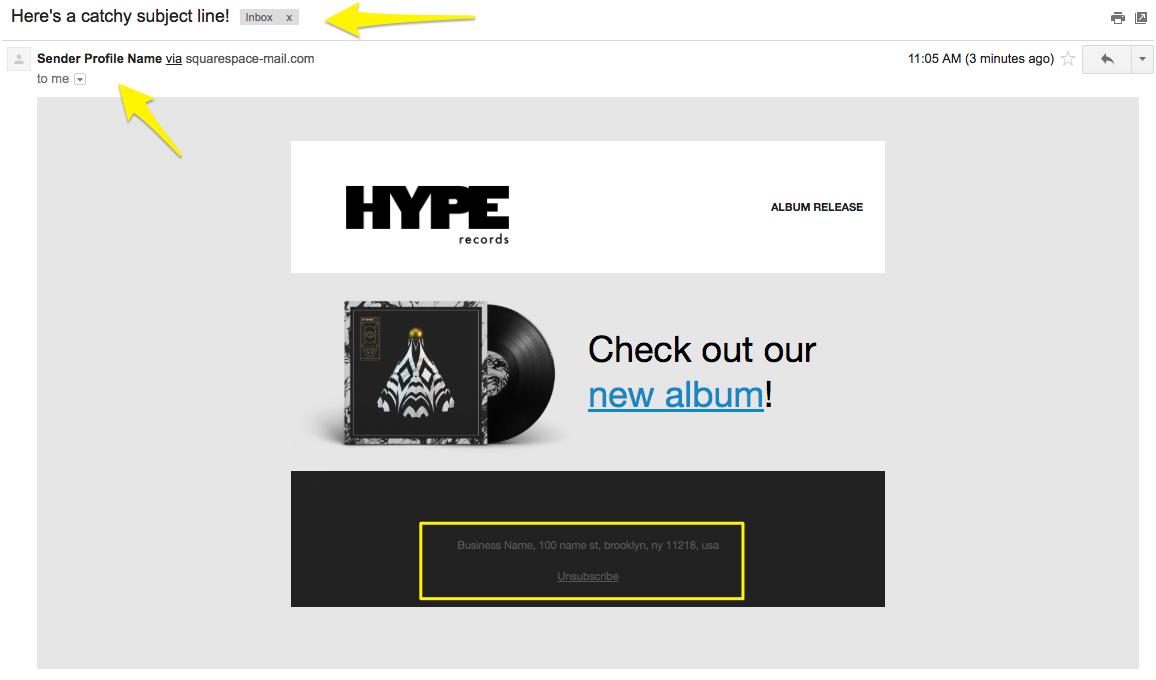
Step 1: Add Email Information
- Navigate to Drafts in Email Marketing dashboard
- Click the pencil icon on your draft
- Add compelling Subject and Email Preview Text
- Select recipients from your mailing lists
- Connect sender information
- Add valid mailing address to footer
Black and white album cover
Step 2: Send Test Email
- Send to your personal email
- Check all links and buttons
- Review for typos
- Verify image display
- Confirm unsubscribe link presence
- Test on multiple devices
Step 3: Send or Schedule Campaign
Immediate Sending:
- Click Schedule
- Enable "Send Immediately"
- Click "Send to Recipients"
Scheduled Sending:
- Click Schedule
- Disable "Send Immediately"
- Select date and time
- Click "Schedule Campaign"
Important Notes:
- Campaigns undergo automatic security review
- "Under Review" status is normal
- Cannot undo/recall sent campaigns
- Emails may show "via squarespace-mail.com" for unverified domains
- Track campaign performance in Email Marketing dashboard
Campaign Limitations:
- Must not exceed monthly campaign limit
- Mailing list size must be within subscription limits
- Time zone based on device settings
- Cannot resend to specific subscribers
For optimal results, follow best practices and spam filter guidelines. Monitor campaign analytics to measure success and improve future campaigns.
Related Articles

How to Grow Your Email List with Squarespace Forms and Tools