A Complete Guide to Building Your First Squarespace Website
Squarespace simplifies the process of creating a professional website through three main steps: structuring your site, adding content, and styling your design.
Creating Your Website Structure
- Add pages to your navigation:
- Click + next to Primary Navigation
- Choose a page type or use pre-defined layouts
- Enter page title and set homepage if desired
- Organize demo pages or create new ones
- Customize your header:
- Click Edit in page preview
- Hover over header and click Edit Website Header
- Add logo, social media icons, and call-to-action buttons
Adding Content
- Using Blocks:
- Open Pages menu
- Select page to edit
- Click Edit
- Add sections with + button
- Insert blocks for text, images, and other elements

Black line with yellow arrow
- Collection Pages:
- Create blog posts, products, or events
- Use two-layer structure with landing and content pages
- Organize content with categories and tags
- Enable comments and email subscriptions if desired
Setting Up an Online Store
- Essential steps:
- Add products to shop page
- Connect payment processors
- Configure shipping options
- Set up tax rates
- Customize checkout experience
Styling Your Website
- Global Style Changes:
- Adjust fonts and typography
- Select color palettes
- Add animations
- Modify spacing
- Section-Specific Styling:
- Click Edit on page preview
- Hover over section
- Click pencil icon
- Customize layout and design elements
Mountain peak in morning cloud cover
Launch Preparation
- Final steps:
- Review website launch checklist
- Upgrade to paid plan
- Ensure all content is complete
- Test functionality across devices
- Connect domain name
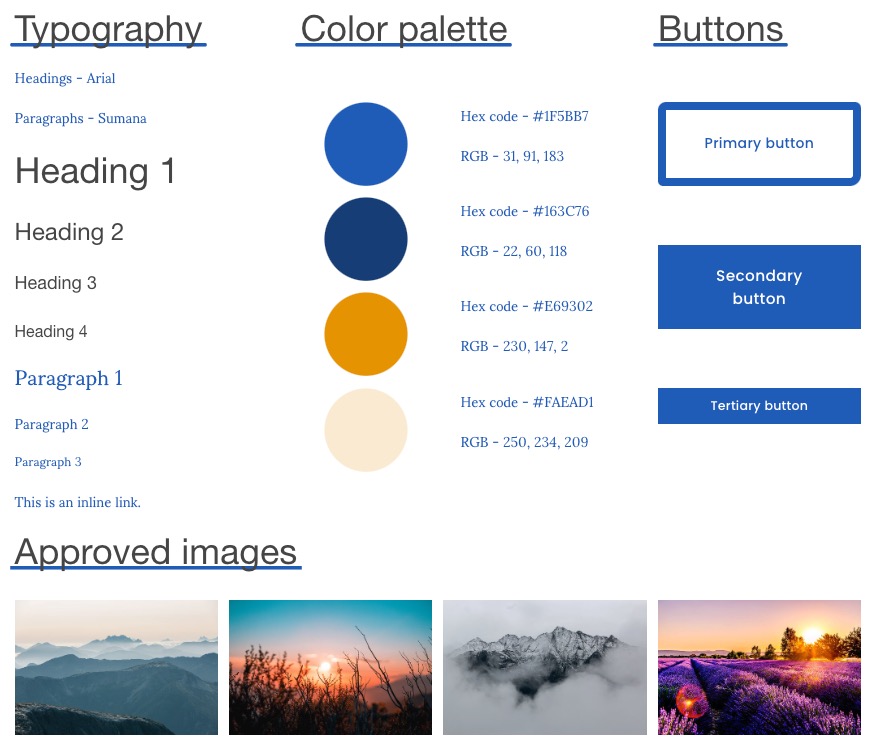
Remember to maintain consistent branding throughout your site and regularly update content to keep visitors engaged. Consider creating a style guide to maintain design consistency across all pages.
Related Articles

How to Connect a Squarespace Domain to Your Website