
Building a Squarespace Website: A Step-by-Step Guide for Beginners
First-time Squarespace users can create a professional website by following these essential steps:
Create Your Site Structure
- Add pages to navigation:
- Click + in Pages panel next to Main Navigation
- Choose page type or use pre-built layouts
- Enter page title and press Enter
- Set homepage if desired
- Edit site header:
- Click Edit on site preview
- Hover over header and click Edit Site Header
- Add logo, social media icons, and call-to-action buttons
Add Content
- Work with blocks:
- Open Pages panel and select page
- Click Edit in top-left corner
- Add sections with + button
- Insert blocks for text, images, and features
- Arrange blocks by dragging

Yellow arrow points to circle
- Create collection pages:
- Set up blog posts, products, or events
- Use two-layer structure with landing and item pages
- Add new content through the + button
- Organize with categories and tags
Set Up Online Store (Optional)
- Essential store setup:
- Add products to store page
- Connect payment processor
- Configure shipping options
- Set tax rates
- Customize checkout experience
Style Your Site
- Edit site-wide design:
- Choose fonts and colors
- Add animations
- Adjust spacing
- Style buttons and images
- Customize individual sections:
- Hover over section and click pencil icon
- Modify layout and background
- Save changes
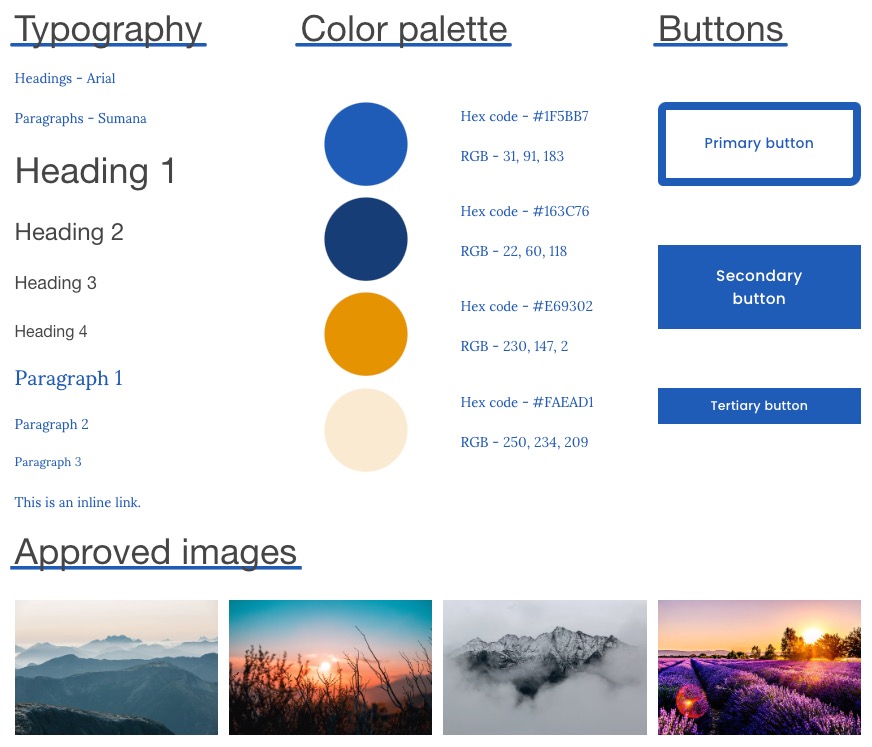
Style guide for website design
- Create style guide (optional):
- Document colors and typography
- Include logo guidelines
- Define layout standards
- Set image requirements
- Establish editorial guidelines
Launch Preparation
- Final steps:
- Review site launch checklist
- Ensure mobile responsiveness
- Test all features and links
- Upgrade to paid plan when ready
- Click Subscribe on bottom banner
Remember to save your work regularly and preview your site on different devices before publishing.
Related Articles
7 Reasons Why WordPress and SEO Services Are Essential for Your Online Success