Create and Send Email Marketing Campaigns: A Step-by-Step Guide
Email campaigns consist of vertically stacked sections containing text, images, and buttons. Here's how to create and manage them effectively:
Creating a New Campaign
- Open email campaign dashboard
- Click [Create]
- Select a template from available options
- Click [Use this template]
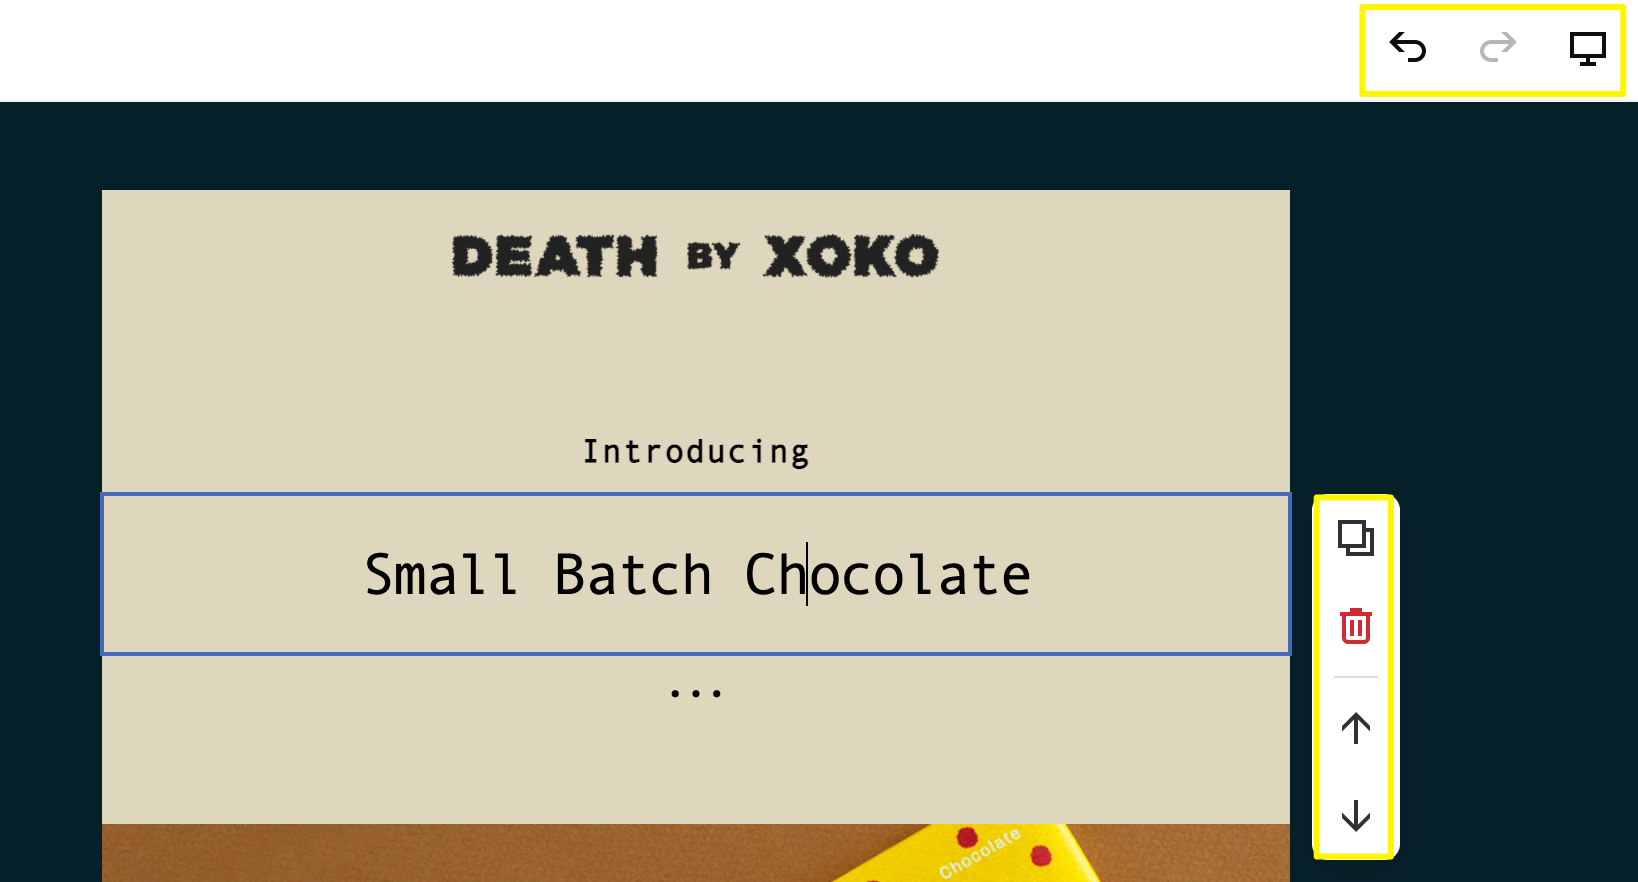
Adding and Managing Sections

Chocolate Wrapping Design
- Click [+] to add new sections
- Click directly on sections to edit
- Use arrows to reorder sections
- Click copy icon to duplicate sections
- Click trash icon to delete sections
Header Customization
- Choose between image, logo, or text
- Upload custom images or use site logo
- Add title text and preview in browser
- Adjust layout, colors, and padding
Footer Requirements
Checkmark for Completed Task
- Must include unsubscribe link and email address
- Optional: Add branding and social icons
- Customize layout, padding, and colors
- Legal address required for compliance
Content Sections Available:
- Text
- Images
- Buttons
- Space adjustments
- Lines
- Blogs
- Products
- Discounts
Template Management
To reuse templates:
- Access dashboard
- Click [Reuse Template] on existing campaign
- Select campaign type
- Edit new draft as needed
Converting Campaign Types:
- Mass to Automated: Use reuse template option and select [Subscriber/Customer Activity]
- Automated to Mass: Click [Reuse Template] and select [Email Campaign]
Draft Management
- Changes save automatically
- Access drafts through dashboard
- Edit by clicking pencil icon
- Delete via [...] > [Delete] menu
- Deletion is permanent
Best Practices:
- Review content thoroughly before sending
- Use email merge tags for personalization
- Consider accessibility guidelines
- Test display on multiple devices
Note: Unsubscribe links and addresses cannot be removed due to legal requirements. "Powered by Squarespace" branding can only be removed with higher-tier plans.
Related Articles

How to Grow Your Email List with Squarespace Forms and Tools