

Guide: Connecting Hover Domains to Squarespace - DNS Setup Instructions
Start in the Domains panel of your Squarespace account:
- Click "Use a Domain You Own"
- Enter your domain name
- Click "Connect Domain"
- Select Hover from the dropdown
- Click "Connect Domain" again
- Click "Continue" in the popup
Keep the Squarespace DNS settings panel open for reference, then:
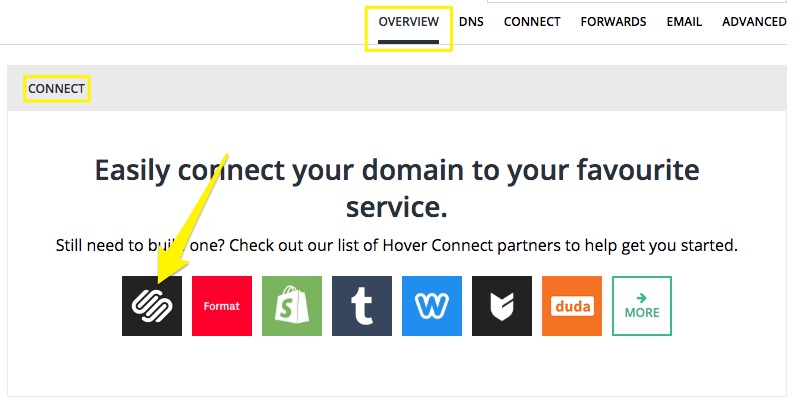
- Log into your Hover account
- Select your domain from "Your Domains"
- Click the Squarespace logo in the Connect section
DNS Settings to Connect Domain
Add verification:
- Copy the unique verification code from the Host column in Squarespace
- Paste it into the "Verification Value" field in Hover
- Click "Connect" (Hover will automatically add other required records)
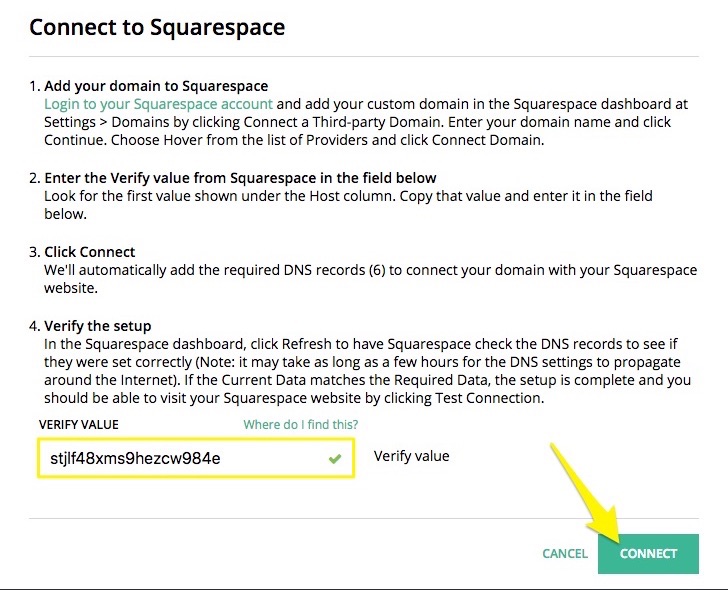
Instructions to Connect with Squarespace
Wait 24-72 hours for the connection to complete. You can check progress by:
- Going to DNS Settings in Squarespace
- Clicking "Update Records"
- Looking for green labels in the Current Data column
The domain is connected when it shows a "Connected" label in the Domains panel.
Note: Errors are common for up to 72 hours after setup. If errors persist beyond that, check Squarespace's troubleshooting guide or contact Hover support.
The domain will remain registered with Hover while connecting to your Squarespace site.
Related Articles

Why Domain Changes Take Up to 48 Hours to Propagate Worldwide
