
How to Add and Customize CSS in Squarespace: Complete Guide
To add custom CSS code to your Squarespace site:
- Access the CSS Editor
- Open the Custom CSS panel
- Click "Open in New Window" for an expandable view
- Add your code and click Save to publish changes
Note: Custom CSS should only modify fonts, colors, and backgrounds. Other changes may affect site functionality.
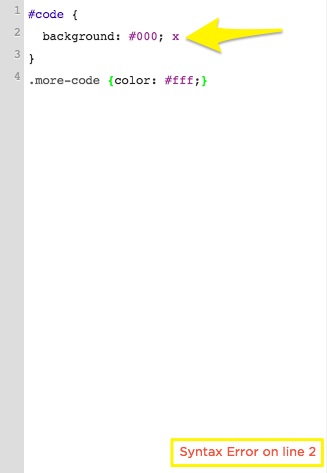
Code syntax error in editor
- Upload Custom Files
- Click "Custom Files" or "Manage Custom Files"
- Upload by clicking "Add images or fonts" or drag files
- Supported formats: .jpg, .png, .gif, .ttf, .otf, .woff (no .svg)
- Using Custom Files
- Write your code until you need the file URL
- Place cursor where URL should go
- Click the file to auto-paste its direct URL
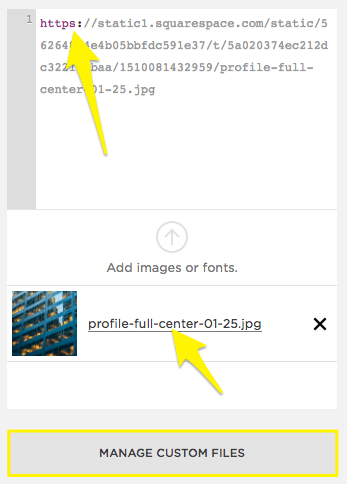
Yellow arrows indicate text field
- SSL Considerations
- File URLs format depends on SSL status
- To update URLs after enabling SSL:
- Open CSS Editor
- Click Manage Custom Files
- Click the file
- Update URL to start with https
- Save changes
Important Limitations:
- CSS changes don't transfer between templates in version 7.0
- Built-in syntax checker flags potential browser compatibility issues
- Always test changes thoroughly before publishing
For additional support:
- Consult the Squarespace Forum
- Consider hiring a Squarespace Expert
- Explore premium plans for advanced customization options
Related Articles

Choose the Perfect Template for Your Squarespace Website