How to Add and Customize OpenTable Reservation Blocks on Your Website
To add an OpenTable reservation system to your website:
- Basic Requirements
- Have an OpenTable Restaurant ID (Register with OpenTable if needed)
- Ensure SSL is enabled on your domain
- Limited to restaurants in: Canada, Germany, Ireland, Japan, Mexico, UK, and US
- Available languages: English, French, German, Japanese, Spanish
- Adding the Block
- Edit your page or footer
- Click "Add Block" and select "OpenTable"
- Click the pencil icon to open block editor
- Enter your OpenTable restaurant ID
- Select your country domain and language
- Save changes
- Customization Options
- Hide/show title text
- Remove menu icons
- Hide OpenTable logo
- Customize background colors
- Adjust fonts through Site Styles
- Modify heading styles
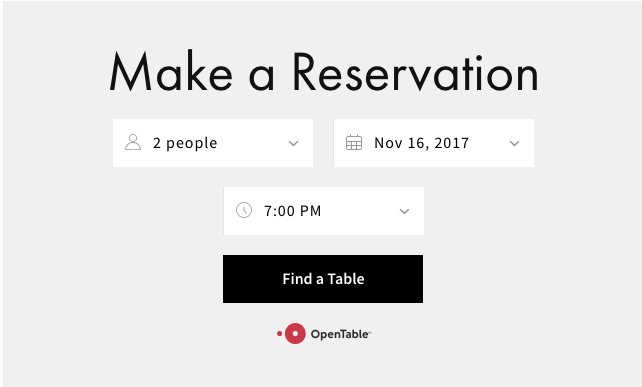
Reserve a table via OpenTable
Important Notes:
- Add only one OpenTable block per page
- For multiple restaurants, create separate pages
- Reservations may incur OpenTable fees
- Block displays "Join Waitlist" for restaurants not taking active reservations
- To preview correctly, view in private browsing mode
Best Practices:
- Place on homepage, footer, or dedicated reservation page
- Use Menu blocks to complement reservation features
- Ensure mobile compatibility
- For unsupported countries, use Button block or OpenTable embed code
Troubleshooting:
- If "Find a Table" button doesn't respond, check SSL certificates
- For display issues, log out or use private browsing
- Contact OpenTable support for fee-related questions
Related Articles

Retired Fonts List: Complete Guide to Replacing Unavailable Fonts