
How to Create and Customize a Website Header: Complete Guide
A site header is a crucial design element that appears at the top of every page, containing navigation elements, logos, and other important features. Here's how to create and customize an effective site header:
Basic Header Setup
- Access header settings:
- Click [Edit] in the site preview
- Hover over header and select [Edit Site Header]
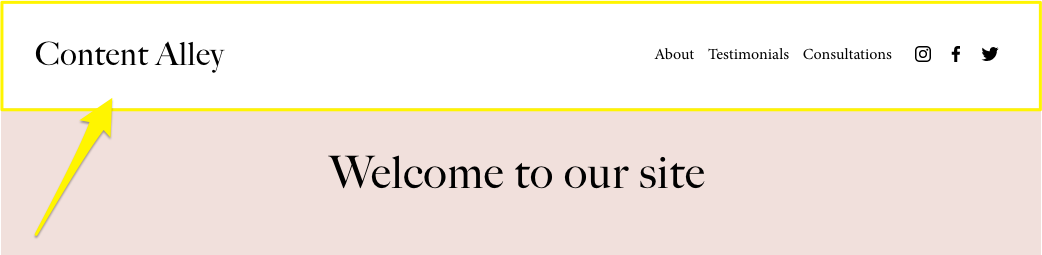
- Add essential elements:
- Site title or logo
- Navigation links
- Optional elements (buttons, shopping cart, social icons)
Welcome Text
Desktop Layout Settings
- Choose header layout:
- Select between Full or Embedded width
- Adjust padding and spacing between elements
- Set navigation link arrangement
- Customize header design:
- Add drop shadows
- Include borders
- Set background colors or gradients
- Enable fixed positioning
Mobile Layout Optimization
- Configure mobile display:
- Select mobile-specific layout
- Adjust menu appearance
- Set collapsed menu style
- Customize font sizes
Advanced Features
- Background styles:
- Solid color
- Gradient overlay
- Adaptive transparency
- Additional elements:
- Call-to-action buttons
- Social media links
- Shopping cart icon
- Language switcher
- Customer login
- Header visibility:
- Option to hide on specific pages
- Sticky header functionality
- Custom display rules
Ensure your header maintains consistency across all pages while remaining responsive on all devices. Test navigation functionality regularly to maintain optimal user experience.
For multilingual sites or special features, configure additional settings through the respective service integrations.
Final tip: Keep the header design clean and intuitive to improve site navigation and user engagement.
Related Articles

Choose the Perfect Template for Your Squarespace Website