
How to Create and Use Custom Payment Forms in Your Checkout Process
Collect valuable customer information during checkout with a custom payment form. This feature allows you to gather gift messages, delivery instructions, comments, and terms acceptance.
To create your custom payment form:
Step 1: Enable the Form
- Navigate to Payment Area panel
- Click Additional fields
- Check Enable Custom Payment Form
- Select Edit Custom Payment Form
Step 2: Configure Form Fields
- Enter a descriptive form name (e.g., "Gift Message" or "Delivery Instructions")
- Click Add field to form
- Customize field titles and descriptions
- Mark fields as Required if needed
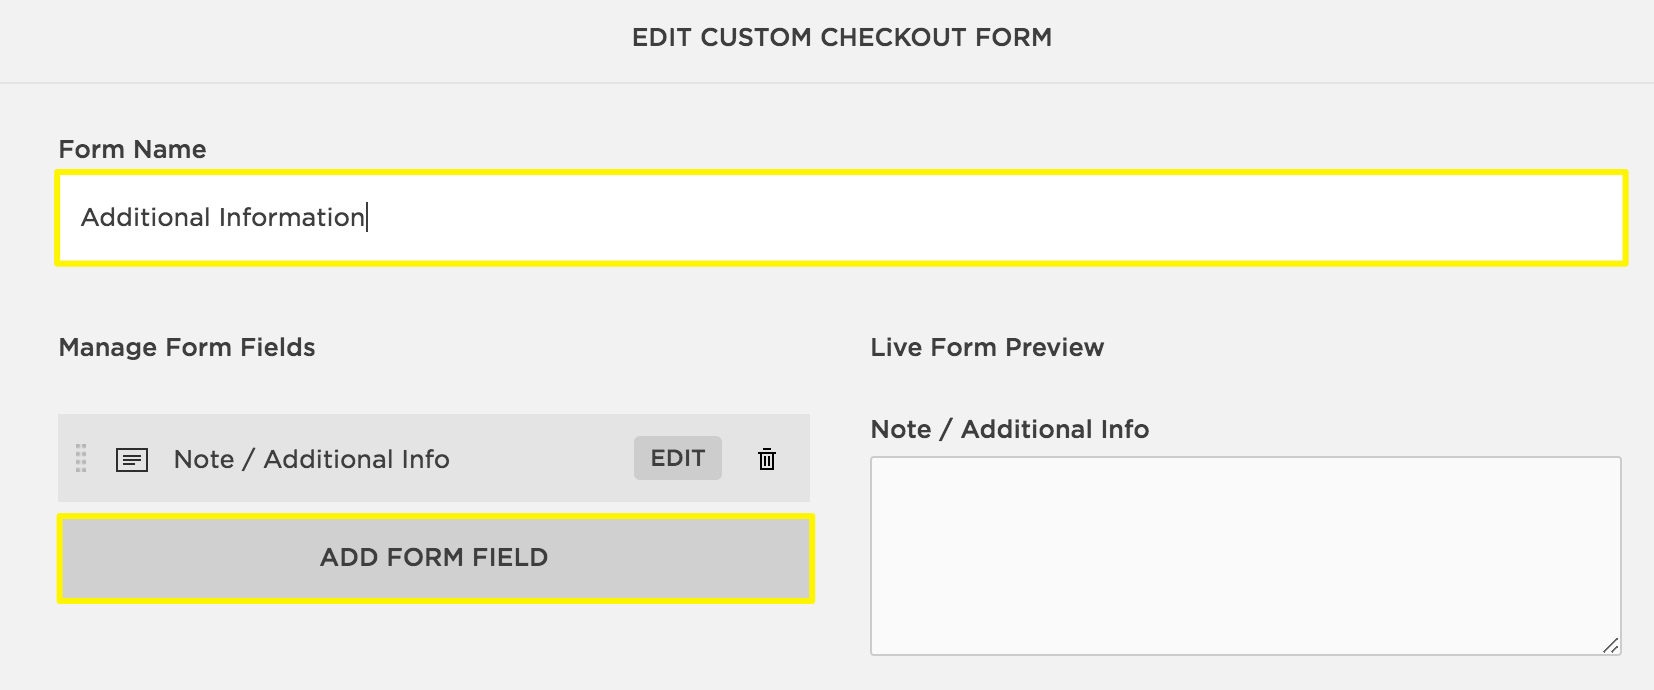
Form with input fields
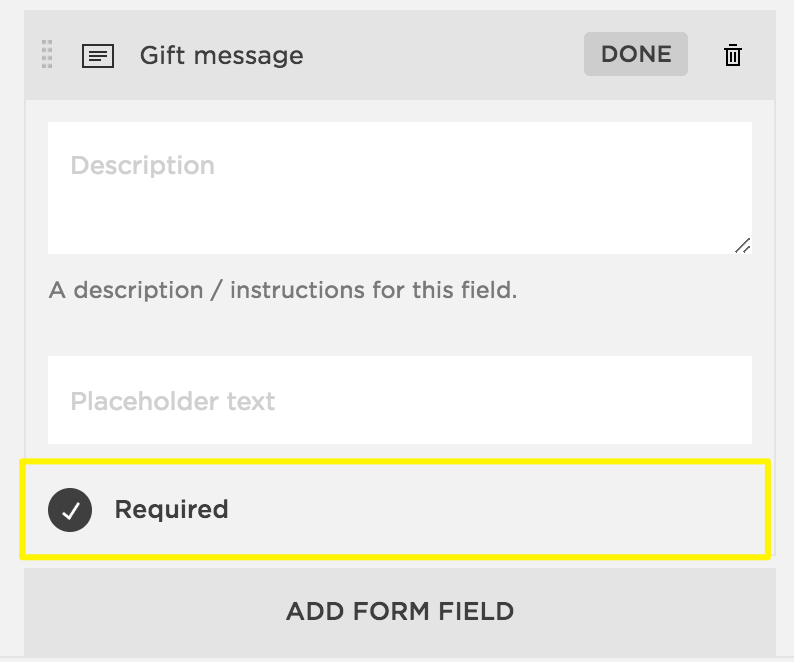
Required checkbox
Form Location and Display:
- Appears below Shipping field (or Email field for digital products)
- Visible during normal checkout process
- Not shown for in-person sales
- For Apple Pay users, appears on order summary page with collapsible fields
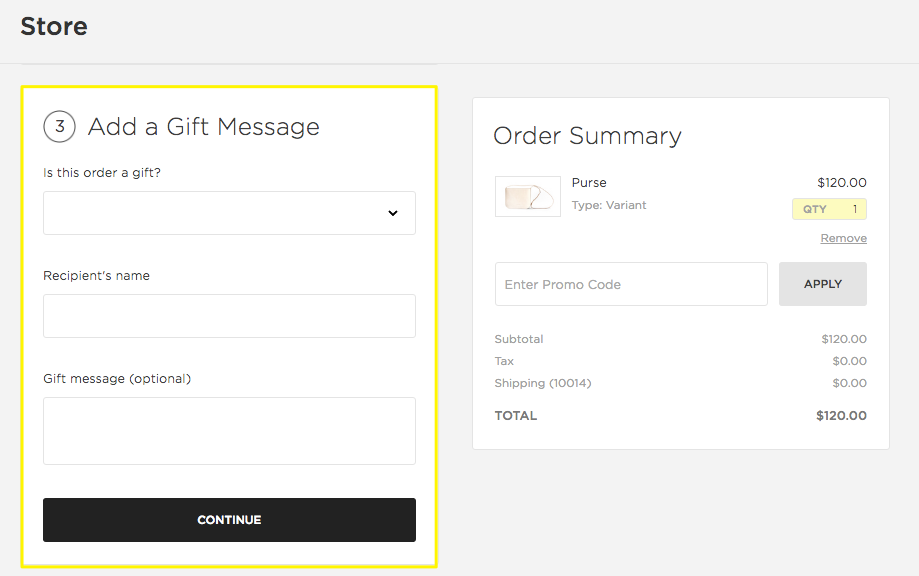
Gift message field
Common Use Cases:
- Gift messages
- Delivery instructions
- Recommendation surveys
- Terms acceptance
Accessing Form Submissions:
- View in Order details panel
- Included in order notification emails
- Available in CSV order exports
Test your form by running a test order to ensure proper display and functionality. Remember to save all changes before publishing.
Related Articles
How to Create and Manage Sale Prices for Products
