
How to Sell Workshops on Squarespace: A Step-by-Step Guide
Selling workshops on your website is a seamless process when combining services and events pages. Here's how to set it up effectively:
Step 1: Add Workshop as a Service Product
- Open Pages menu
- Click shop page or + to add new shop page
- Click + icon > Service
- Add workshop name (include date if multiple sessions)
- Fill in description and add images
- Upload images via + icon or drag-and-drop
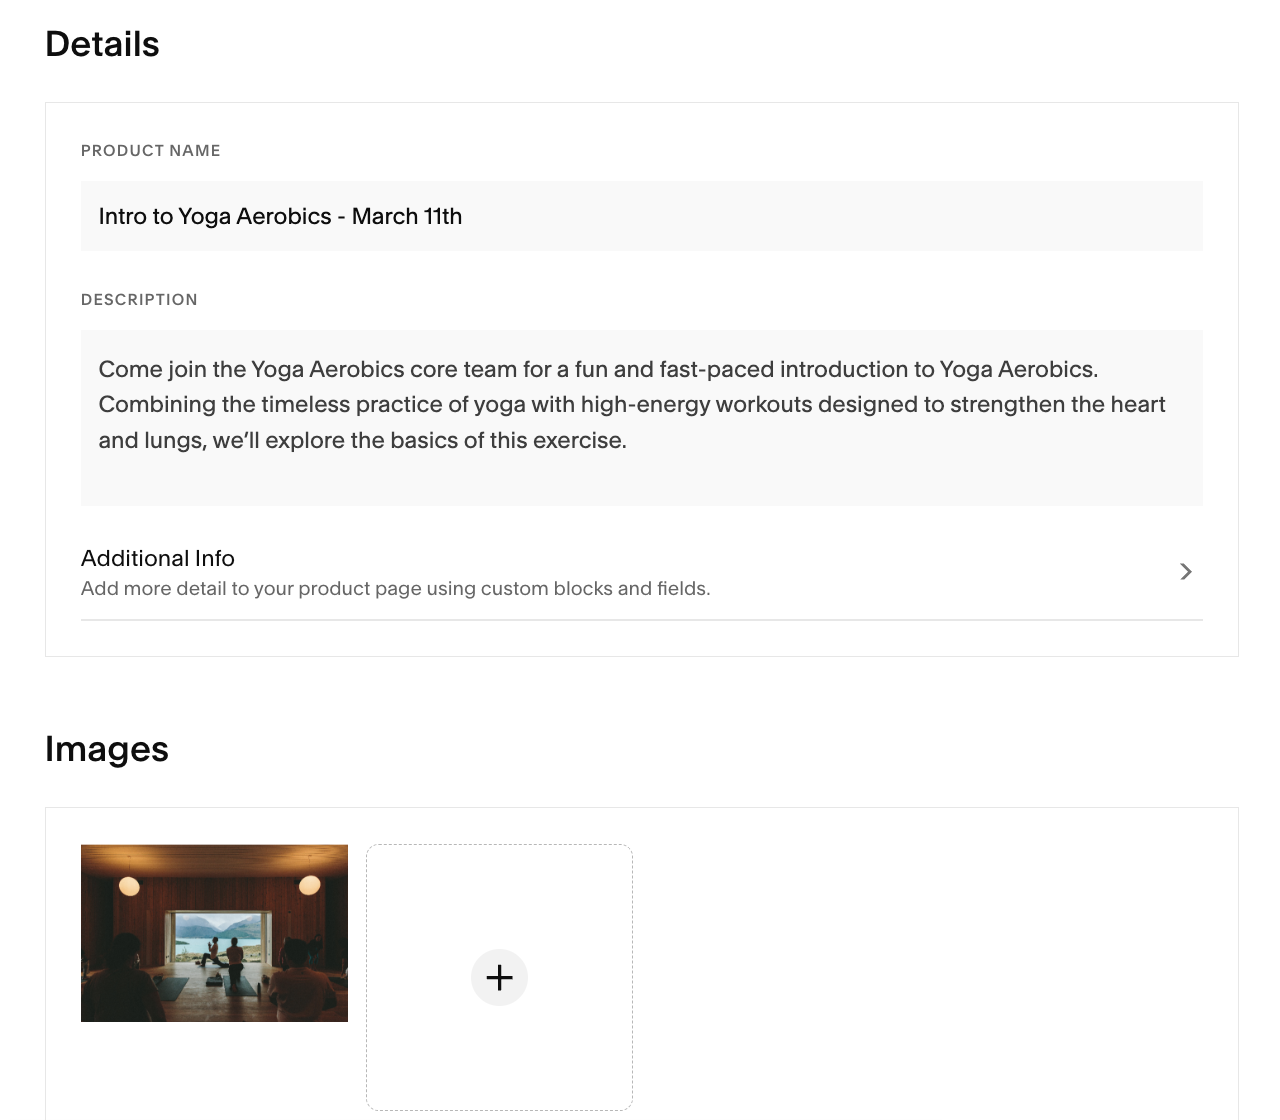
Man doing yoga on wooden floor
Step 2: Configure Price and Capacity
- Navigate to Inventory section
- Set price
- Choose Unlimited Stock if no size limit
- Set specific quantity if limited spots
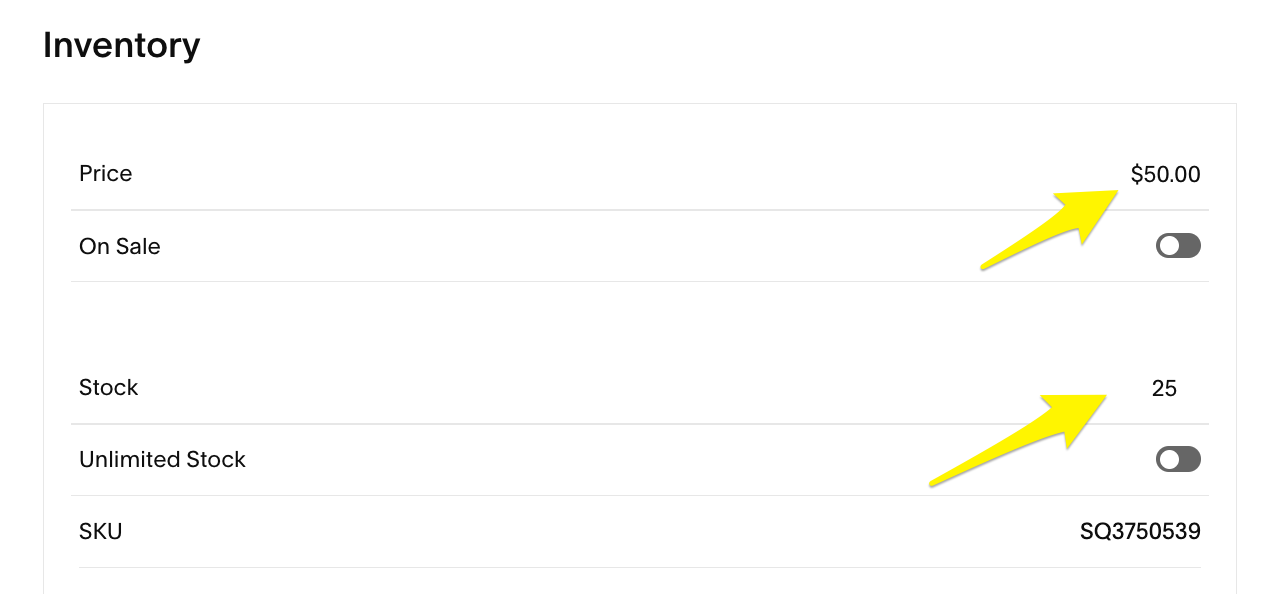
Inventory settings in Squarespace dashboard
Step 3: Add Time Variants (Optional)
- Scroll to Inventory section
- Click Add under Variants
- Select Custom from dropdown
- Add label (e.g., "Time")
- Enter variants (e.g., "11:00 AM", "1:00 PM")
- Set specific pricing and inventory for each variant
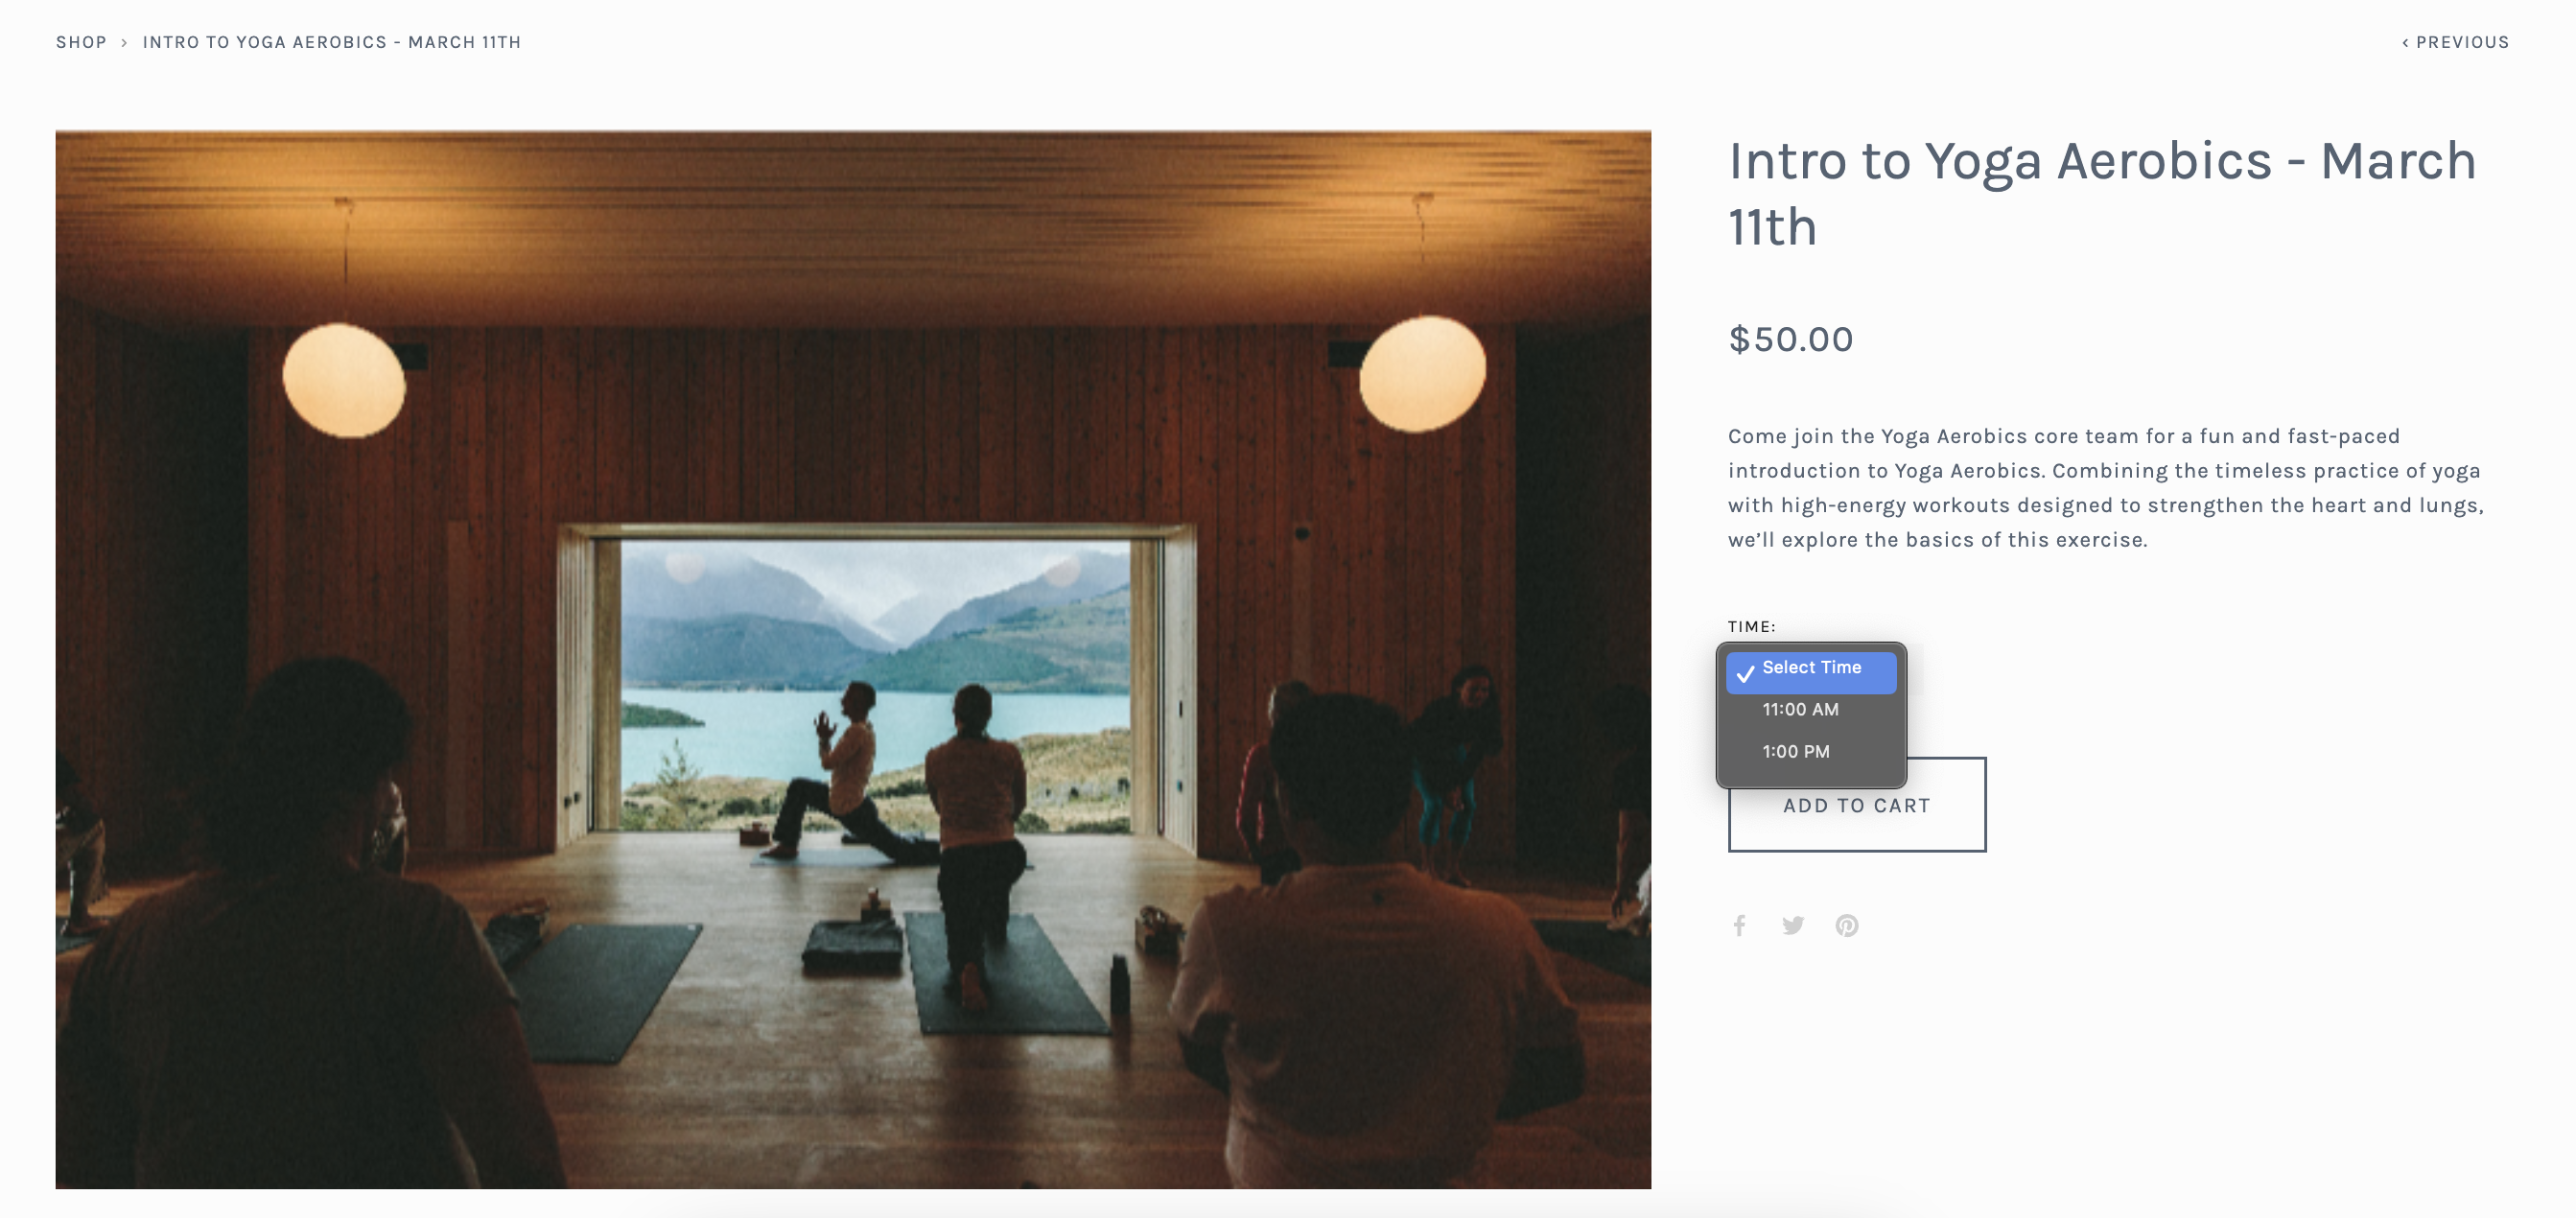
People practicing yoga on mats
Step 4: Publish and Organize
- Click Save and Publish
- Optional: Schedule for later availability
- Move shop page to "Not Linked" section if desired
Step 5: Create Events Page
- Add new events page
- Click + to create event
- Match event title with workshop product
- Set start and end times
- Add product block in description:
- Click + in event editor
- Select Product
- Search for workshop
- Adjust design settings
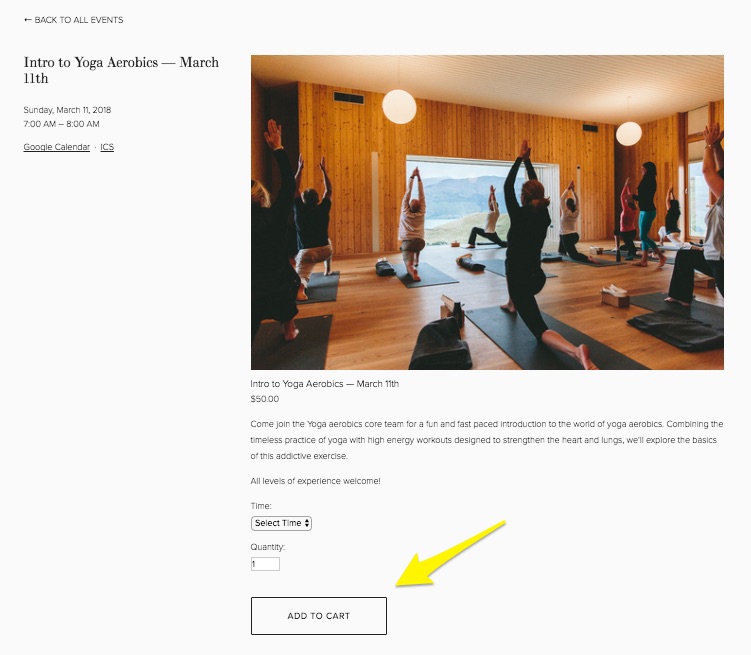
People doing yoga on mats
Step 6: Finalize Setup
- Create events and products for each workshop
- Add product blocks to corresponding events
- Review and publish all content
- Test purchase process
This setup allows customers to easily browse your workshop calendar, register, and complete payment through your website's integrated e-commerce tools.
Related Articles

How to Connect a Squarespace Domain to Your Website