
Cart Icon Customization Guide: Display and Style Settings
The cart icon appears in your site header, displaying the number of items and linking to checkout. Here's how to customize it:
Version 7.1 Customization Steps:
- Click "Edit" in the upper left corner
- Hover over header and click "Edit site header"
- Click "Add elements"
- Enable "Cart"
- Click the cart icon and select the pencil icon
- Choose your style:
- Icon: Select cart, basket, or bag + adjust size
- Text: Add custom text (up to 10 characters)
- Optional: Add border (outline or solid) and toggle "Show '0' in cart"
- Click Save or Exit and Save

Arrow indicates cart with item
Mobile Display:
- Text style shows item count (e.g., "(0)")
- Bottom navigation bar for classic button
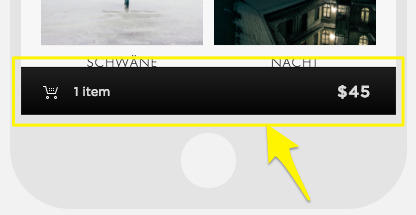
Black cart icon
Template Support:
Classic Button Templates (Limited Customization):
- Adirondack, Avenue, Aviator, Bedford, Five, Flatiron, Forte, Galapagos, Ishimoto, Momentum, Montauk, Native, Pacific, Supply, Wells, Wexley
Advanced Options Templates (Full Customization):
- Brine, Skye, Tremont, Farro, York
Hide Cart Icon:
- Click "Edit"
- Edit site header
- Click "Add elements"
- Disable "Cart"
- Save changes
Note: When hidden, a bottom cart icon appears after adding products. Colors can be customized in Site Styles > Colors > Button settings.
Important: Only hide the cart if using Quick Checkout or subscription-only products, as customers need it to find the checkout page.