How to Add and Customize Acuity Scheduling Blocks on Squarespace
Scheduling blocks allow visitors to book appointments directly on your website through Acuity's scheduling system. This guide explains how to set up and customize scheduling blocks for both Squarespace-integrated and standalone Acuity accounts.
For Squarespace-Integrated Acuity
- Add a scheduling block:
- Click Add Block or insert point
- Select Scheduling
- Click the pencil icon to edit
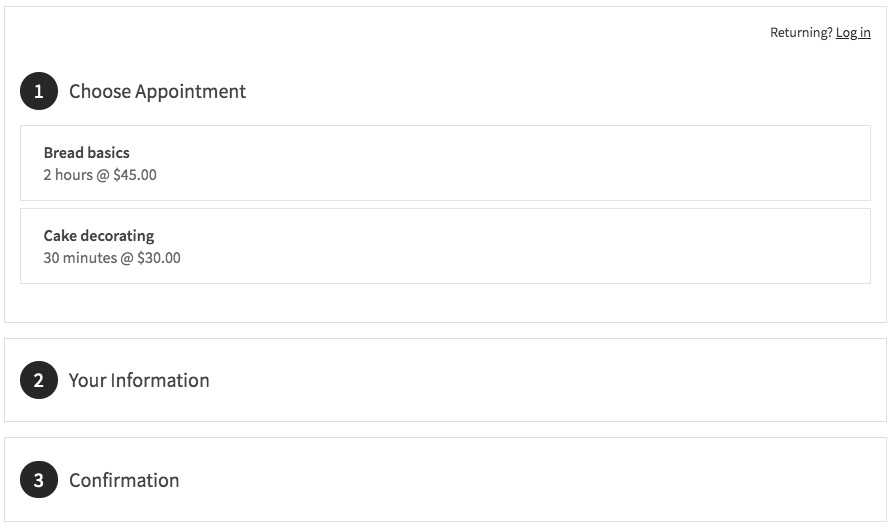
- Choose your preferred scheduler display
- Click Apply (Version 7.0)
Woman with pink hair smiling
For Standalone Acuity
- Get your scheduler URL:
- Access your Acuity account
- Click Scheduling Page Link
- Copy the General Scheduling Page link
- Add to your site:
- Add Scheduling block
- Select Custom Link
- Paste your Acuity URL
- Click Apply
Customization Options
- Design Changes:
- Go to Customize Appearance in Acuity
- Select Scheduling Page Options
- Adjust settings using live preview
- Privacy Features:
- Add page password protection
- Enable Member Sites for gated access
- Customize visibility settings
Important Settings
- Remove "Powered by Acuity": Customize Appearance > Scheduling Page Options > Hide "Powered By Acuity"
- Transaction Fees: No Squarespace fees apply
- Free Plan Limitations: Standalone free accounts can't use embedded calendars
- All Squarespace-integrated Acuity plans support scheduling blocks
To edit existing blocks:
- Edit the page
- Click the scheduling block
- Open block editor
- Make changes
- Save
These scheduling blocks seamlessly integrate with your website, allowing visitors to book appointments without leaving your page while maintaining your site's professional appearance.
Related Articles

How to Link Squarespace Domain to Google Sites: Complete Guide