How to Add Pages to Your Squarespace Site Navigation: A Step-by-Step Guide
Adding Pages to Site Navigation
To add pages to your site's navigation menu in Squarespace:
Version 7.1
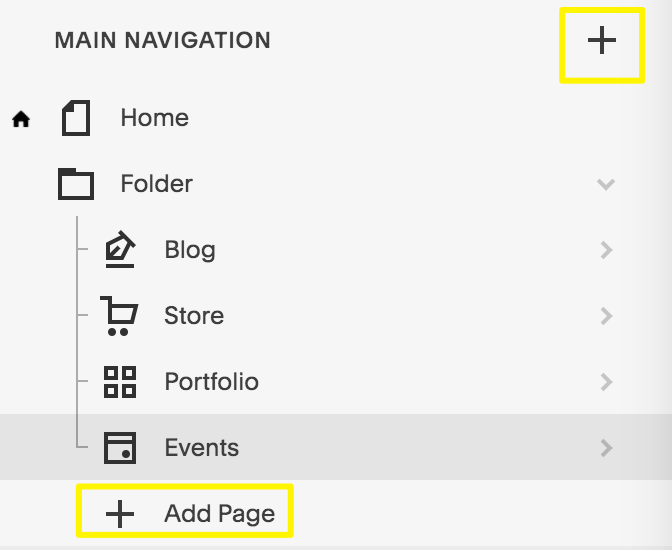
- Open the Pages panel
- Click [+] icon next to main navigation
- Select [Blank Page] or choose from pre-made layouts
- Enter page title and press Enter
Highlighting Navigation Menu
Version 7.0
- Open the Pages panel
- Click [+] icon next to main navigation
- Choose page type from "Create New Page" menu
- Enter page title and press Enter
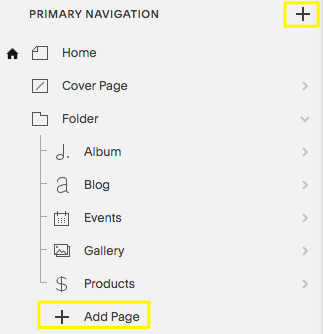
Add Page button in menu
Available Page Types:
Layout Pages
- Blank pages for custom designs
- Pre-made layouts for specific purposes
- Fully customizable with blocks
Collection Pages
- Blog
- Events
- Portfolio (7.1 only)
- Store/Products
- Albums and galleries (7.0 only)
Additional Navigation Features:
- Dropdowns to group pages
- External links
- Members-only sections
- Cover pages (7.0 only)
- Index pages (7.0 only)
Mobile App Support:
- Layout pages: Full add/edit support
- Store: Full management + POS (iOS only)
- Blog: Complete functionality
- Portfolio: View only
- Events: Basic management
- Albums/Galleries: Limited functionality
After Adding Pages:
- Edit page settings via the gear icon
- Reorder pages by dragging in Pages panel
- Delete pages using trash icon (recoverable within 30 days)
- Customize navigation styling
Note: Available features and functionality vary between Squarespace versions 7.0 and 7.1, and between desktop and mobile apps.
Related Articles

Retired Fonts List: Complete Guide to Replacing Unavailable Fonts