
How to Change Site Fonts in Squarespace: Style Guide & Tips
Here's how to change fonts in Squarespace, including style, size, color, and spacing options for your website's text.
To change fonts site-wide (Version 7.1):
- Open Site Style and click Fonts
- Click "Switch" next to current font pack
- Choose from Sans-serif, Serif, or Mixed styles
- Select a new font pack to preview
- Set the basic font size
- Click "Save" to apply changes
Font Customization Options:
- Weight: Adjust boldness
- Line Height: Change spacing between lines
- Letter Spacing: Modify space between characters
- Style: Choose regular, bold, or italic
- Text Transformation: Set capitalization
- Size: Adjust text dimensions
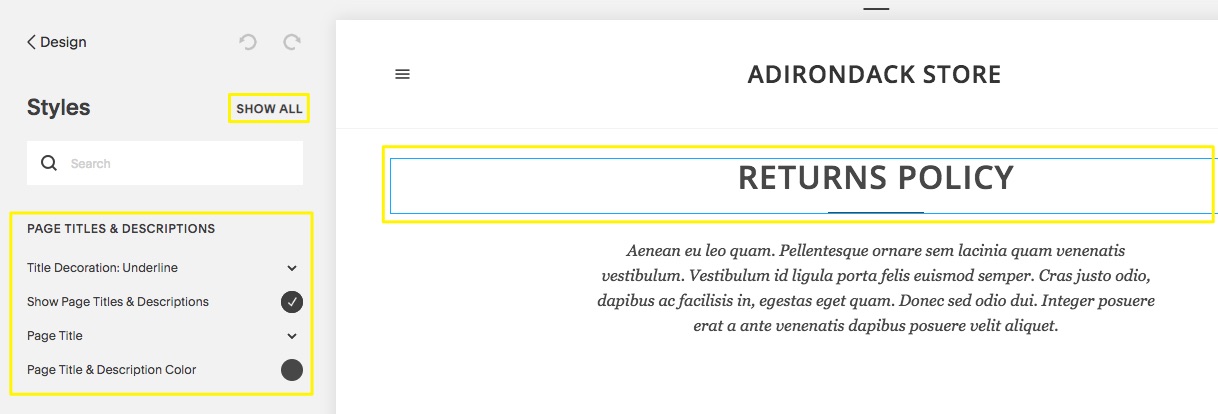
Screenshot of support article
Using Custom Fonts:
- Navigate to "Browse All Fonts"
- Search from 600+ Google Fonts and 1,000+ Adobe Fonts
- Select desired font family
- Apply to specific text groups (headings, paragraphs, buttons)
For Version 7.0 Custom Adobe Fonts:
- Create a Web Project in Adobe Fonts
- Copy the project ID
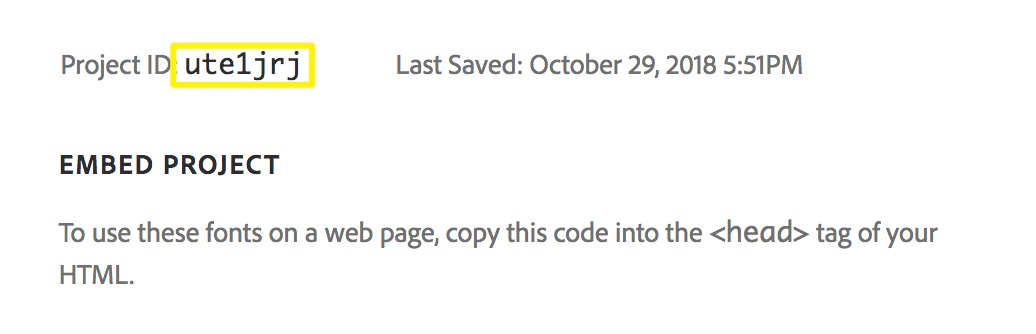
Code box display
- Add ID to Developer Tools
- Apply fonts through Site Style
Troubleshooting Tips:
- Clear formatting when copying/pasting text
- Ensure font weight is above 100 for mobile readability
- Check domain settings if fonts change after logging in
- Use rem values for consistent scaling
- Verify Adobe Fonts project settings for special characters
Font changes apply site-wide for consistency. Some fonts may render differently across devices and browsers. If a font becomes unavailable, Squarespace will replace it with the closest match from their library.
Related Articles

Retired Fonts List: Complete Guide to Replacing Unavailable Fonts