Inserting Scheduling Blocks in Acuity Calendar Integration
Allow visitors to schedule appointments directly on your site using Acuity's scheduling block. This guide covers both Squarespace-integrated and standalone Acuity implementations.
Adding a Scheduling Block with Squarespace Integration:
- Edit your page
- Click Add Block or an insertion point
- Select Scheduling
- Click the pencil icon to edit
- Choose your scheduler type (general, specific calendar, or category)
- Click Apply (for version 7.0)
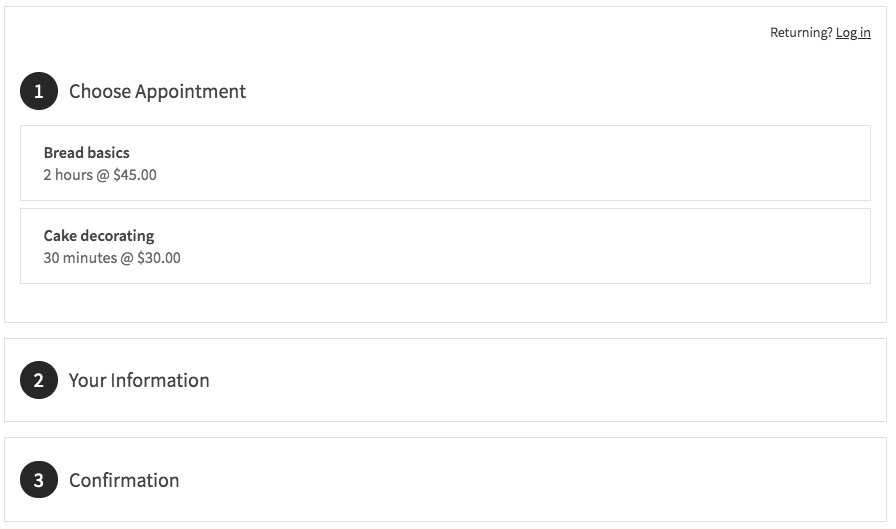
Appointment selection page
Using Standalone Acuity Scheduling:
-
Get your scheduler URL:
- Access your Acuity account
- Copy the general scheduling page link or specific calendar URL
- Find custom URLs in Direct Links and Embeds section
-
Add to your site:
- Add a Scheduling Block
- Select Custom Link
- Paste your Acuity URL
- Click Apply
Editing Existing Blocks:
- Edit the page
- Click the block's pencil icon
- Make changes
- Save
Security Options:
- Add page password protection
- Create members-only access
- Restrict booking to authorized users
Customization Features:
- Modify design through Acuity's Customize Appearance
- Adjust Scheduling Page Options
- Preview changes in real-time
Important Notes:
- No Squarespace transaction fees apply
- Standalone Acuity requires paid plan for embedded calendars
- Squarespace-integrated Acuity works with all plans
- "Powered by Acuity" text can be hidden in appearance settings
This implementation allows seamless scheduling integration while maintaining your site's professional appearance and security requirements.
Related Articles

How to Link Squarespace Domain to Google Sites: Complete Guide